

Before you start
- The address of the shared inbox’s email channel. Use the address in the channel’s Forward field, which ends in
in.frontapp.com. If your own support address already delivers to that Front channel, you can use that address instead. - A channel that can send email. It must be validated in Front, or agents can’t reply at all.
- Someone who can open a conversation in that inbox to accept the confirmation.
Any AppReply plan can connect Front. Ticket rules need the Pro plan. Create ticket on a single review does not.
Connect Front
1
Copy the channel address in Front
In Front, open Settings (the gear icon), then Channels, the email channel of the shared inbox, and the Settings tab. Copy the address in the Forward field.
2
Open the connect window in AppReply
In AppReply, go to Integrations (in the Apps section of the sidebar) and click Connect in the Helpdesk connections section (or Connect your first helpdesk), then choose Front.
3
Paste the address and send the confirmation
Paste the address into Front channel address and click Send confirmation.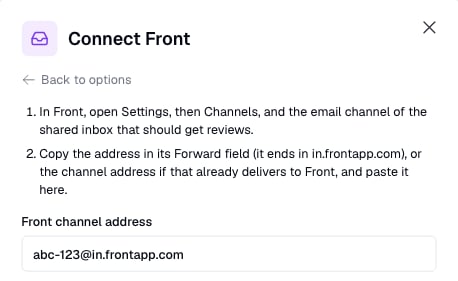
4
Accept in Front
In the shared inbox, a conversation arrives with the subject Confirm AppReply reviews for this address. Open it and click Accept the integration.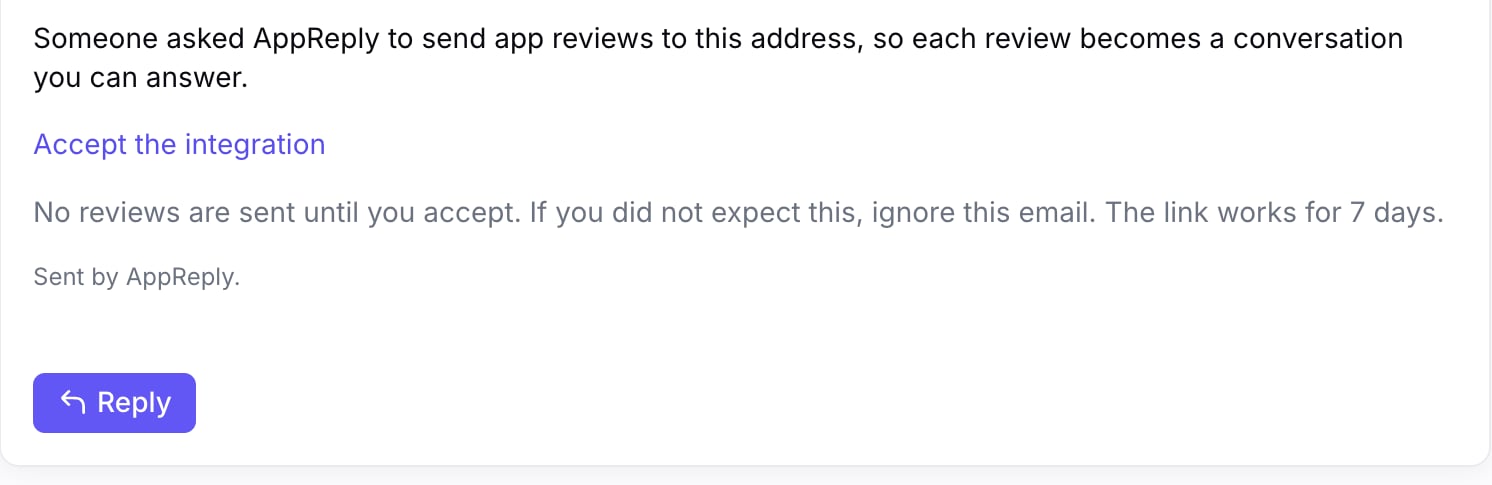
5
Check the connection
Back in AppReply, Front shows Active, with its address and a Verify button.
Send reviews to Front
Create a ticket rule with Front as the Helpdesk connection, or click Create ticket on a single review. Each review arrives as a conversation from the reviewer’s name followed by the store, for example “Dana Reyes Google Play review”.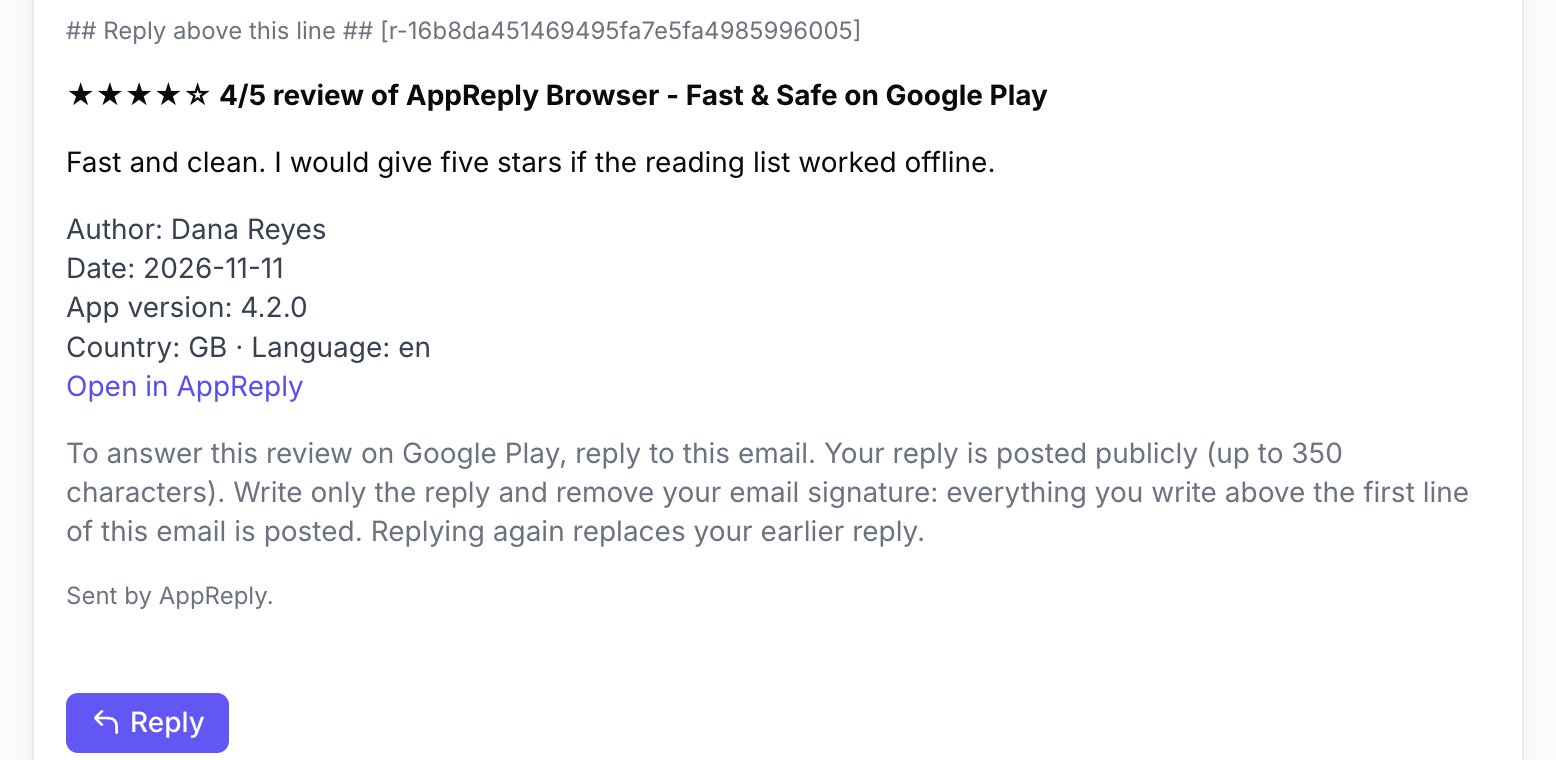
## Reply above this line ##. AppReply uses it to find your agent’s reply. Don’t delete it. For what else the email contains, see Any helpdesk by email.
Reply from the conversation
The agent presses Reply, not a comment, writes the answer and sends it. AppReply posts it to the store.- The “Sent from Front” footer is left out. On plans that show it, Front adds the agent’s name and “Sent from Front” under replies. AppReply leaves it out of what is posted.
- Remove any other signature. Everything above the quoted review is posted.
If a reply is not posted
AppReply sends a short email back to the same conversation. It starts with “AppReply did not post your reply.” and says why. The agent replies again in that conversation with the corrected text. A reply that contains the name the review was sent under, such as “Dana Reyes Google Play review”, is refused with a note that says which name to remove. A greeting template that inserts the contact’s name does that. For every reason a reply can be refused, see Notes you may get back.Errors and disconnecting
If Front does not accept a review email, the card shows Error and a short message, for example “Front did not accept a review email (bounced). Check the address, then verify the connection again.” Check the address, then click Send again and accept the new confirmation. To disconnect, click the trash icon on the card. The card warns: “Replies to review emails already sent will stop posting.” Nothing in Front is changed.What it does not do
- No status sync. AppReply does not see or change the conversation’s status in Front. In AppReply, the ticket is marked Resolved once a reply is queued.
- No posting to Huawei AppGallery or RuStore by email.
- No API connection. Only replies sent from the conversation count. Comments are never posted.
Set up ticket rules
Configure which reviews become Front conversations