

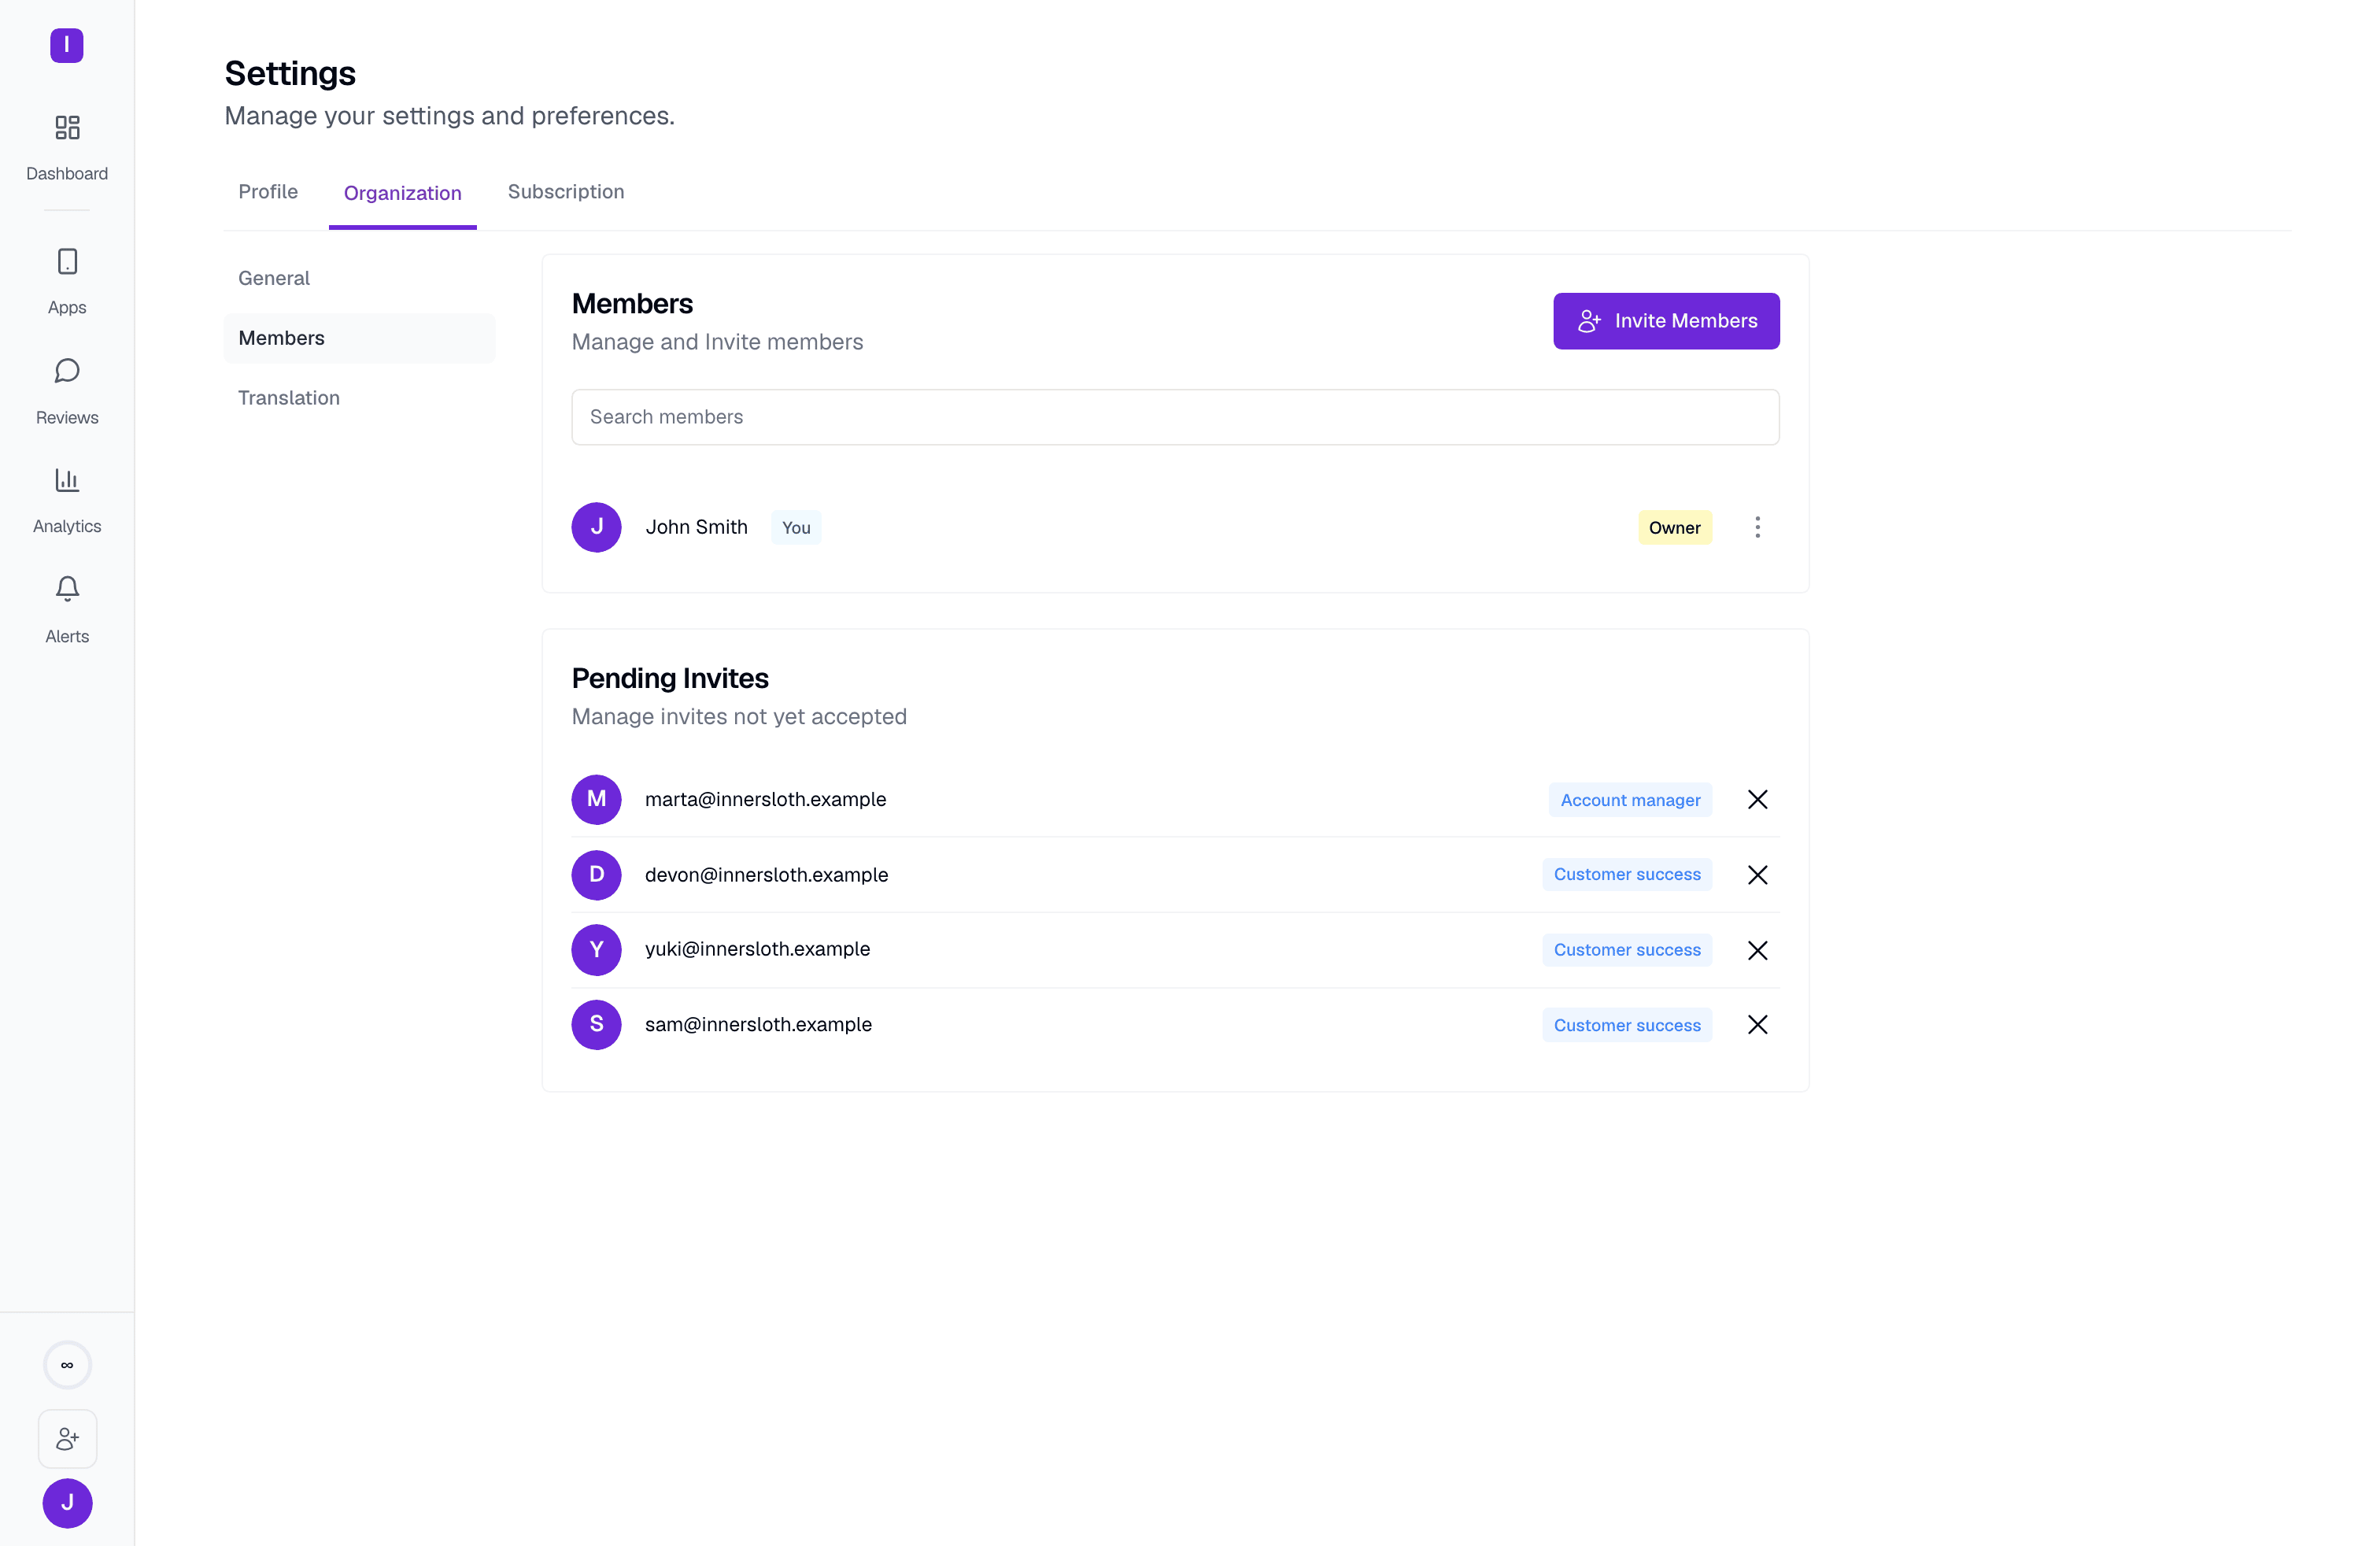
/dashboard/[organization]/settings/organization/members. From here you can see everyone in the workspace, invite new people, and manage invites that haven’t been accepted yet.
Inviting new team members
Click Invite Members, enter an email address, and pick a role — Account manager or Customer success. You can add several invites at once with “Add another one” before sending. See User roles for what each role can do. You can’t invite someone directly as Owner — ownership only changes hands through a dedicated transfer.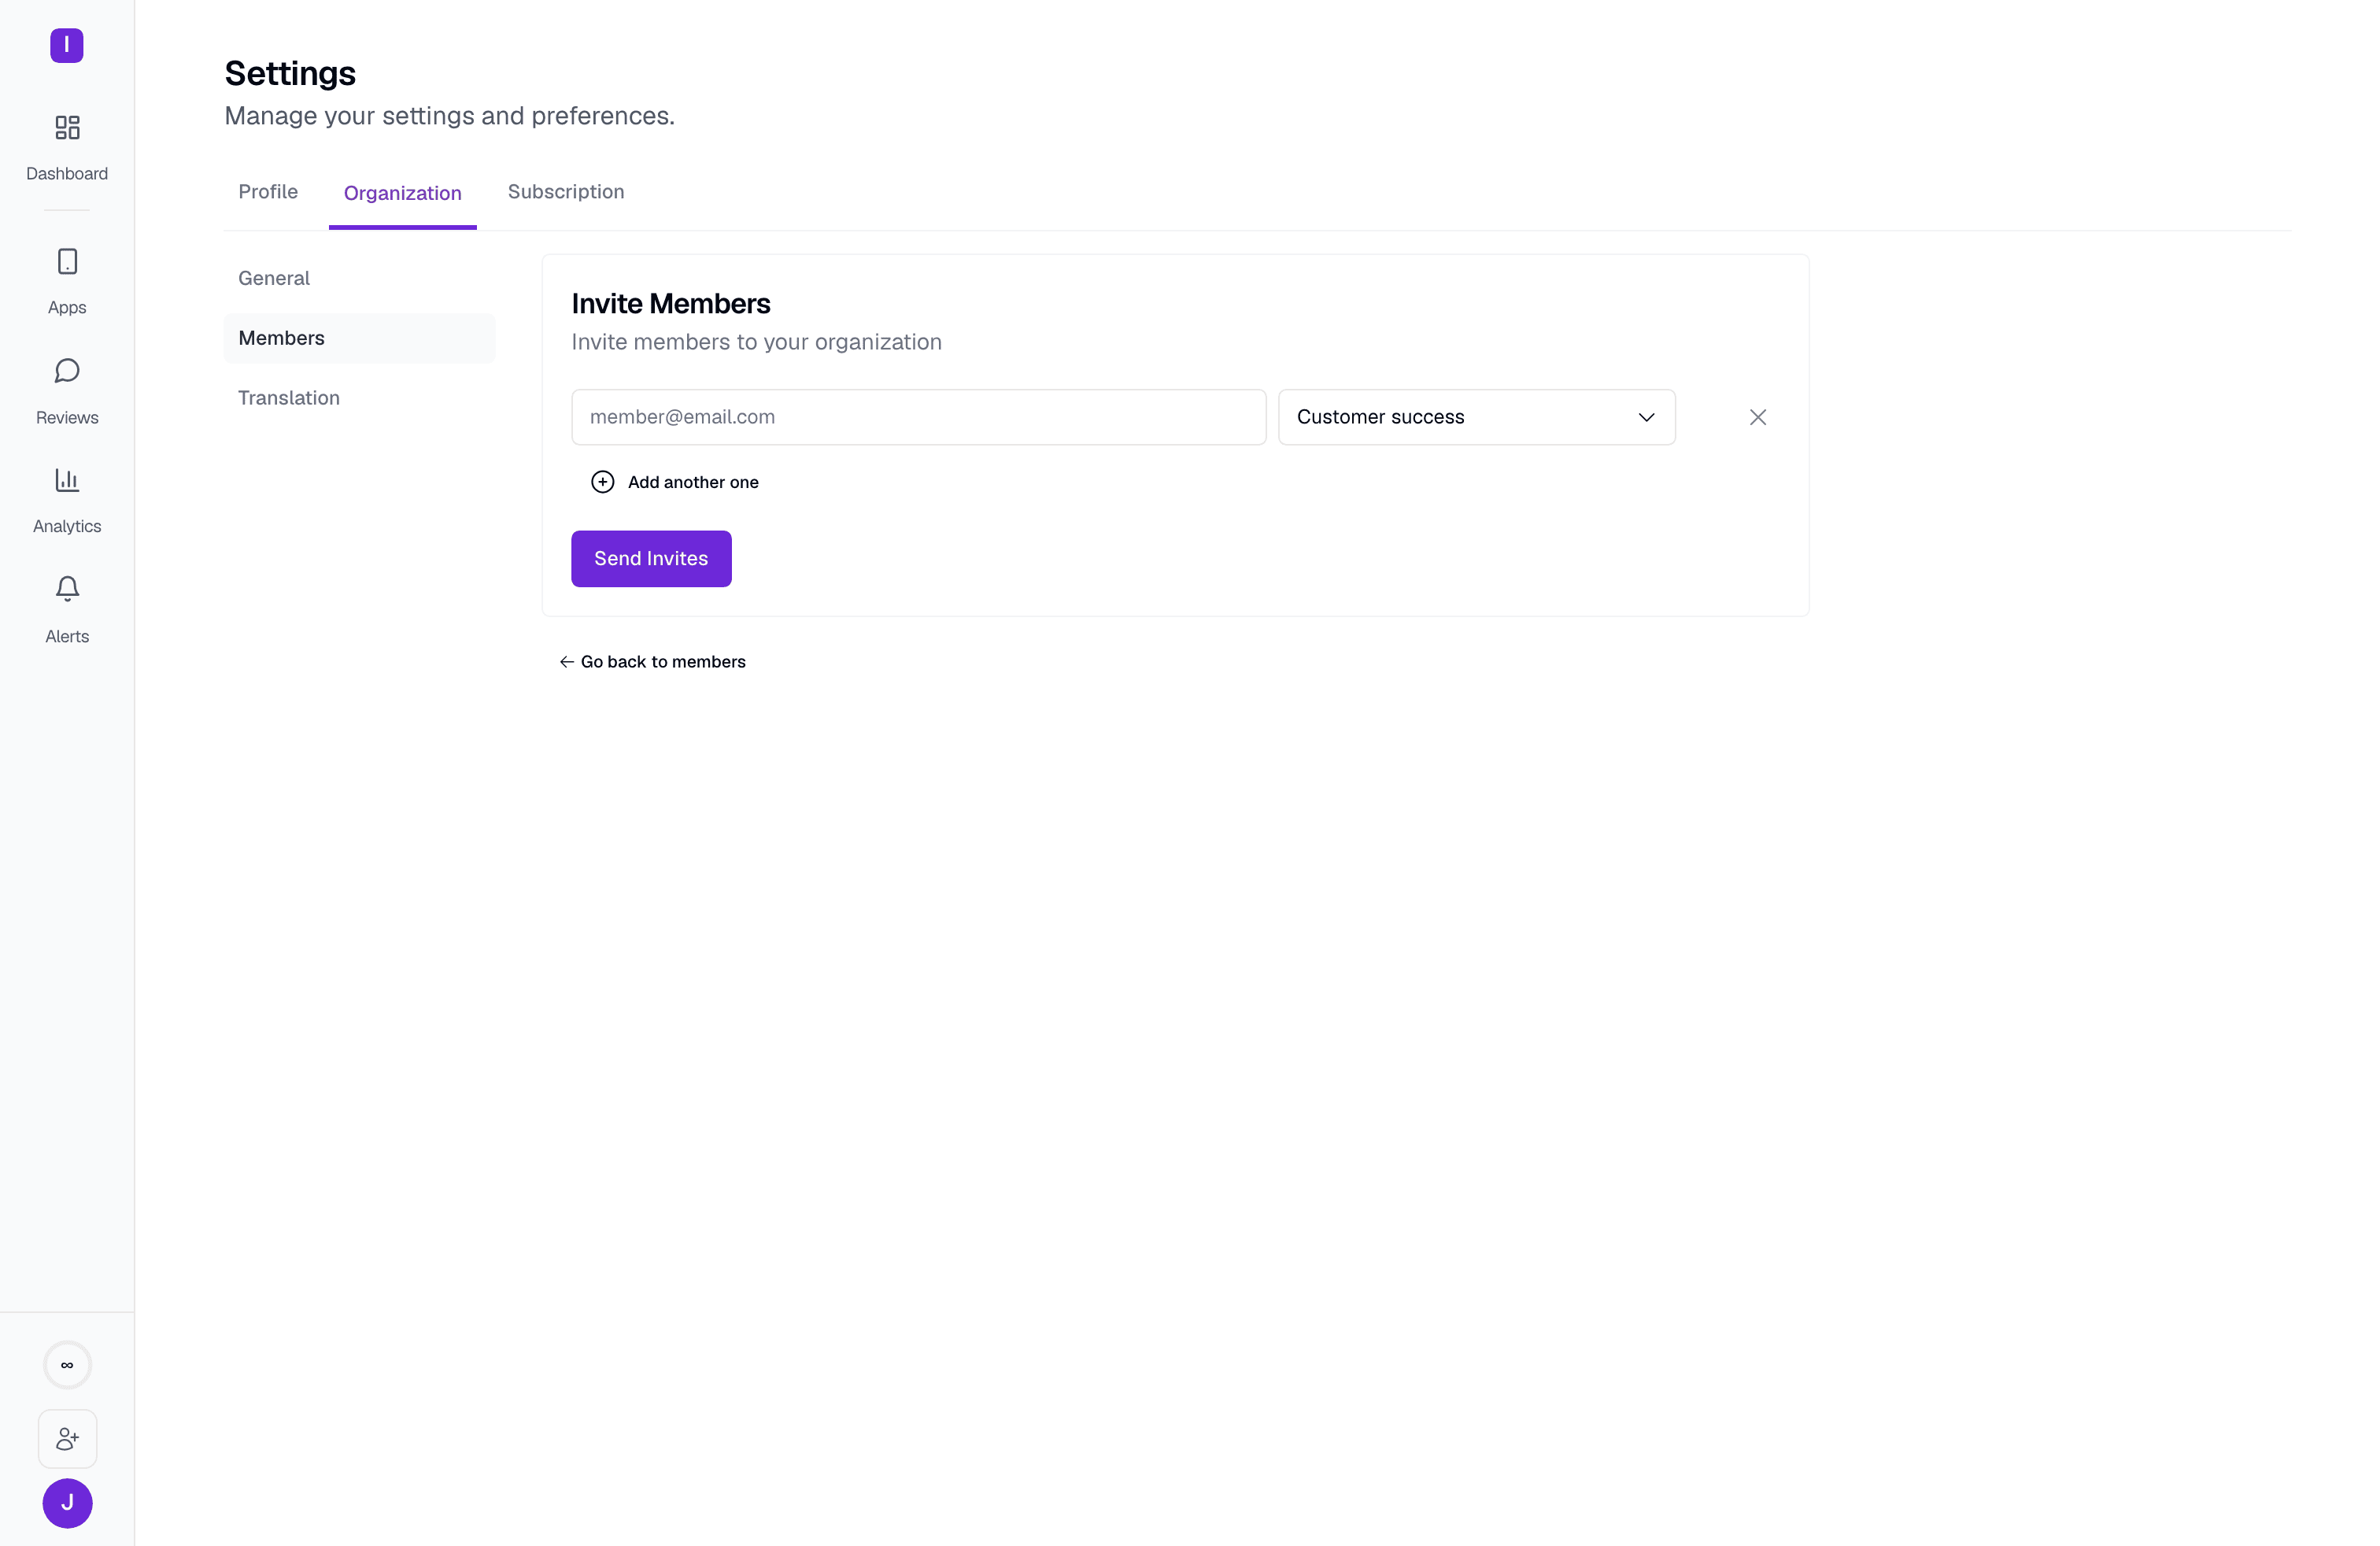
Only Owners and Account managers can send or cancel invites, and both can only invite people at or below their own rank — an Account manager can’t invite someone as Owner, and can’t promote an invite to Account manager if their own role doesn’t already allow it.
Changing a member’s role
Open the actions menu (⋮) next to a member’s name to change their role or remove them. Role changes take effect immediately — no re-login required. Who you can act on depends on rank: you can only change or remove someone with a strictly lower role than your own. An Account manager can manage Customer success members but not another Account manager, and only the Owner can manage Account managers. The Owner’s row also carries a Transfer ownership option, which is how sole ownership of the workspace changes hands — see User roles for what that means.Removing a member
Removing someone from the actions menu revokes their access to the workspace immediately — its reviews, templates, automations, and everything else. Templates, automation rules, and reply history they created stay in the workspace; only their access to it goes away.User roles
See exactly what each role can and can’t do
Security
Multi-factor authentication and credential storage