

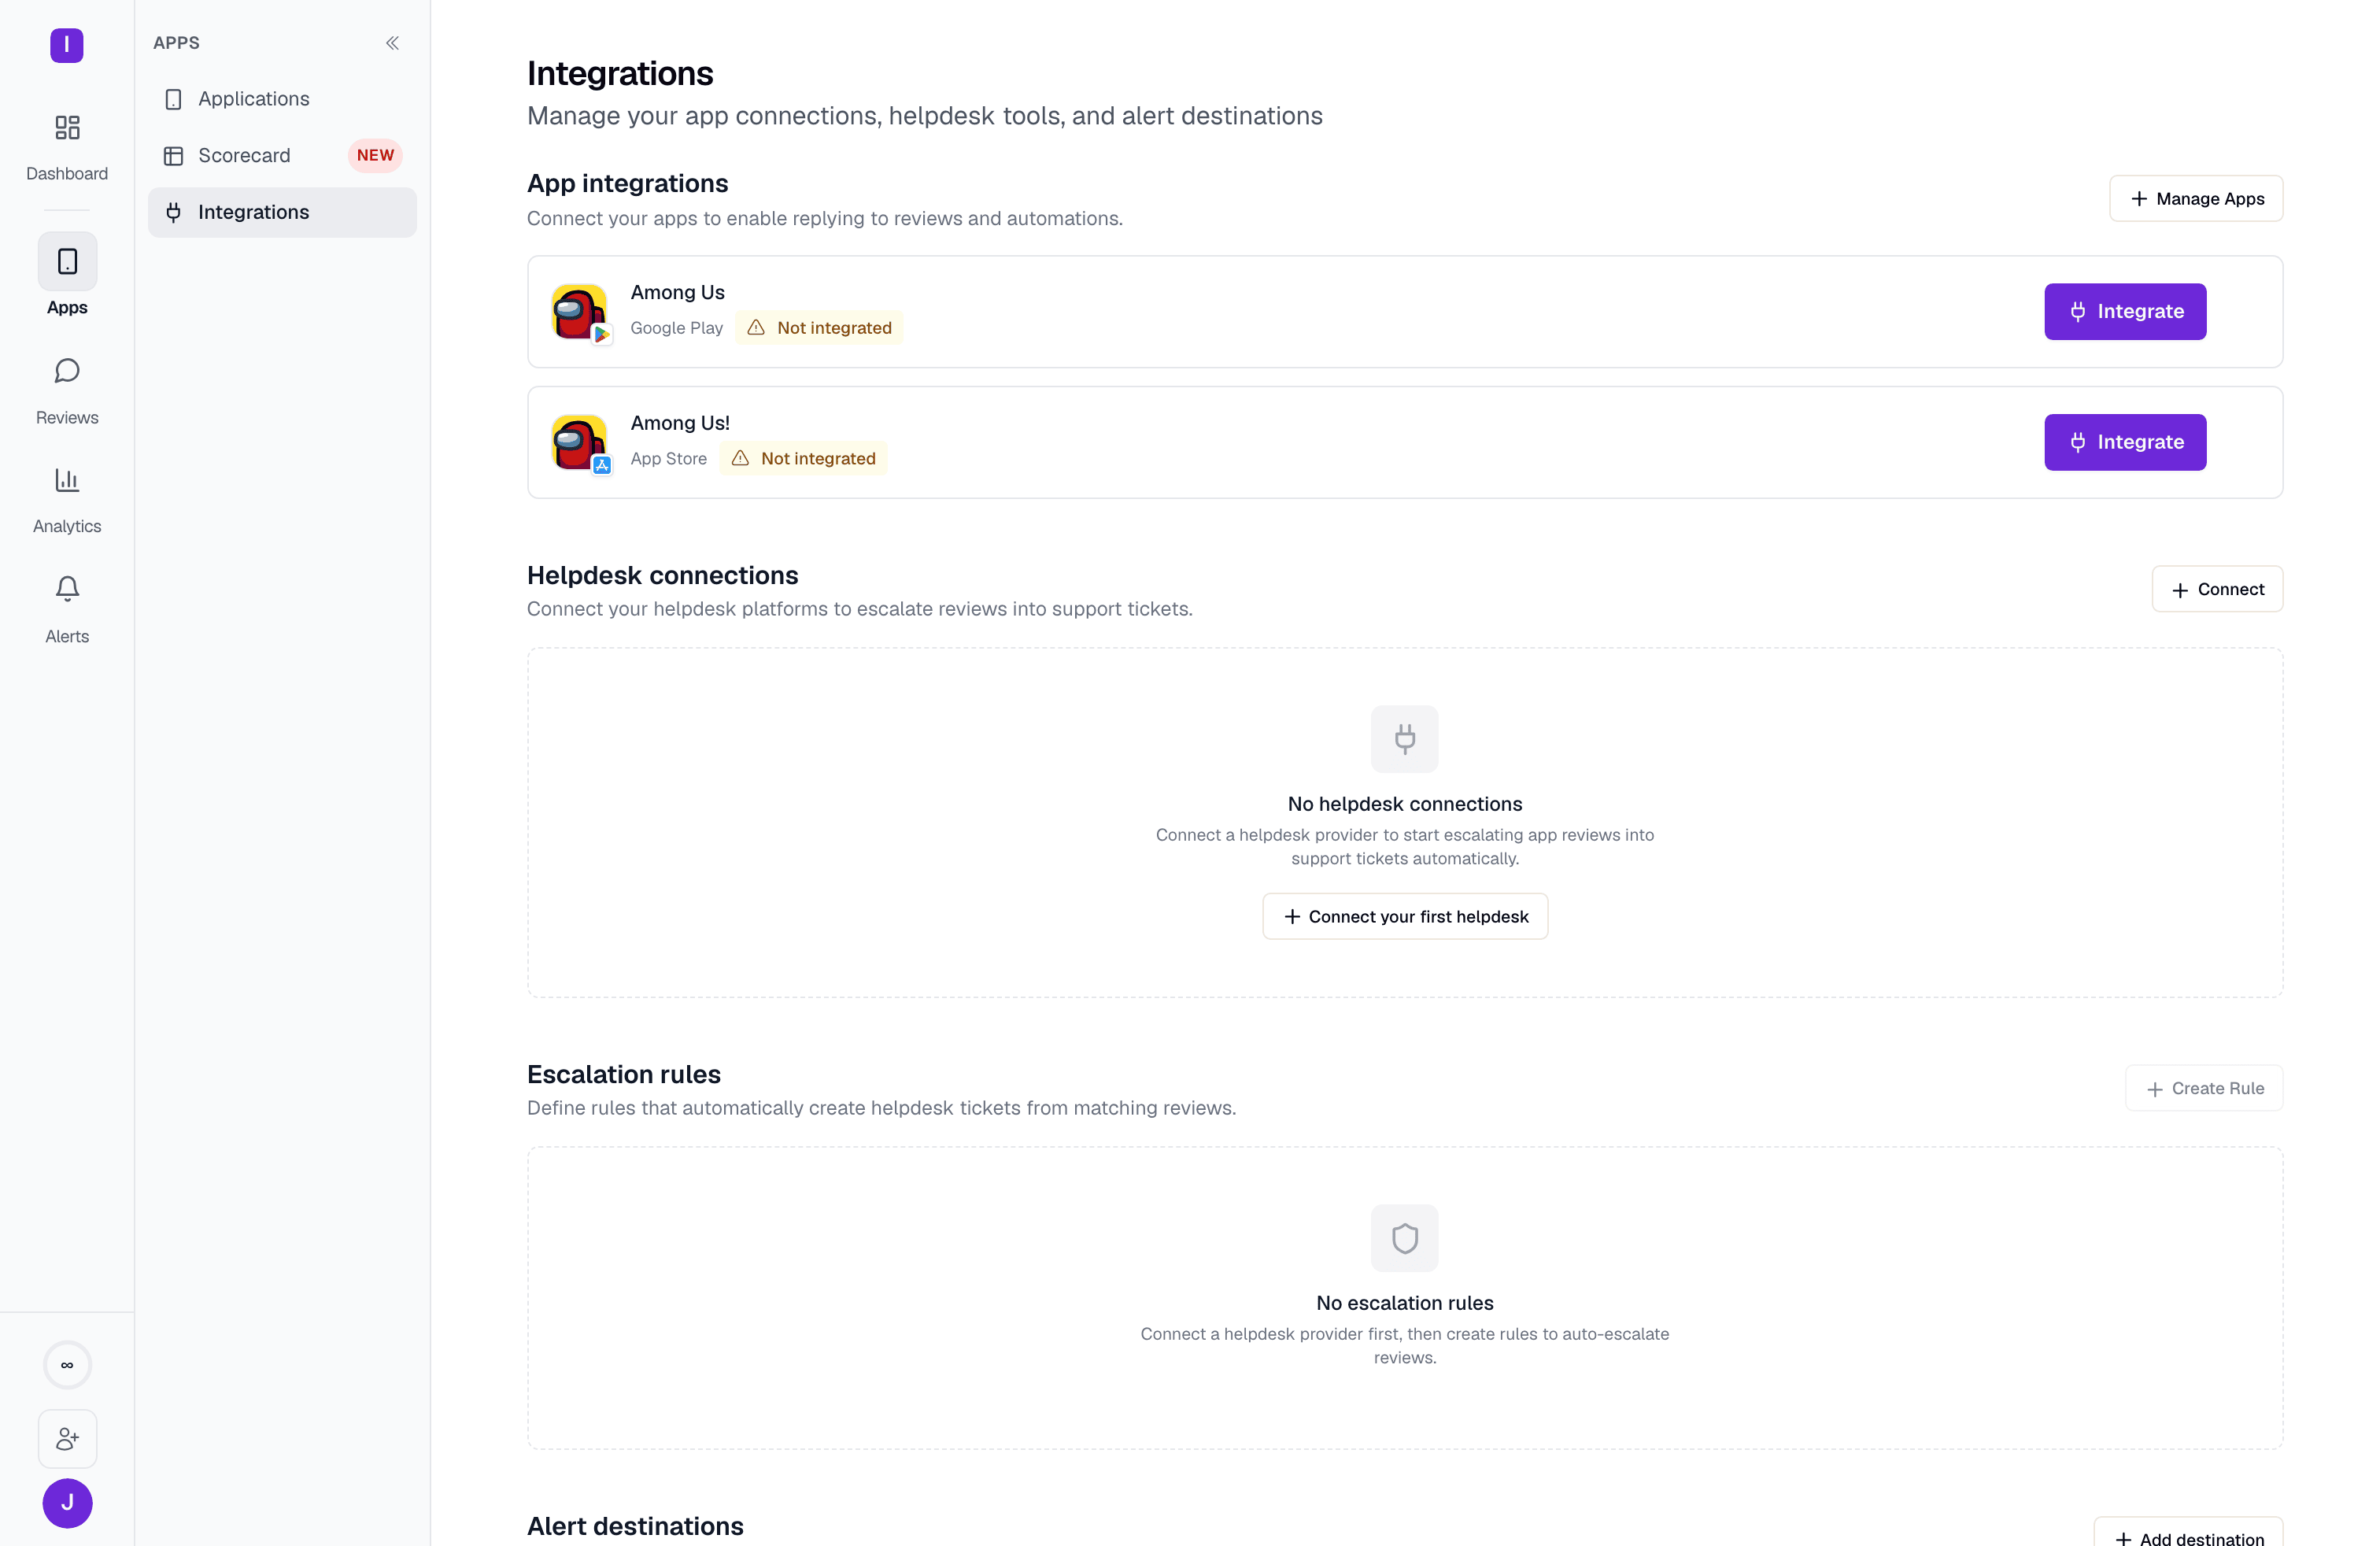
Escalation rules are a Pro-plan feature. On a lower plan you can still see any existing rules, and disable them, but creating, editing, or re-enabling one requires Pro.
Supported helpdesk providers
Zendesk
OAuth connection. Requires your Zendesk subdomain.
Intercom
OAuth connection. Requires a default requester email.
Setting up an escalation rule
1
Connect your helpdesk
Go to Integrations and connect your Zendesk or Intercom account under Helpdesk connections. Escalation rules can’t be created until at least one connection exists.
2
Create an escalation rule
In the Escalation rules section of the same page, click Create Rule. Give it a name, pick the helpdesk connection it should use, and choose which app it applies to — All apps, or one specific app.
3
Set the rating threshold
Pick a threshold from the dropdown: 1 star only, 2 stars or below, 3 stars or below, 4 stars or below, or All ratings. Reviews at or below the threshold trigger the rule.
4
Add optional conditions
Layer on the same condition types available elsewhere in AppReply — review text, language, review length, and featured status — to narrow the rule further.
5
Configure the ticket
Set the ticket subject template, a default priority, and optional tags (see below).
6
Set a cooldown period
Choose a cooldown in hours (default 24) that governs re-ticketing for the same review.
Ticket details
Each escalated ticket includes the full review text and metadata so your support team has context without switching tools.Subject templates
The ticket subject is a template you control, with variables that pull in review metadata:{rating}, {app_name}, {author_name}, and {review_text_preview}. The default is:
Priority
Each rule has a single default ticket priority — Low, Normal, High, or Urgent — applied to every ticket it creates. Set it based on what the rule targets: rules that escalate very low ratings or urgent keywords should default to a higher priority than rules covering general feedback.Tags
Add a comma-separated list of tags to a rule; every ticket it creates carries those tags, which helps your support team categorize and route them at a glance (e.g.app-review, escalated).
Cooldown
The cooldown period, in hours, controls how long AppReply waits before it can create another helpdesk ticket for the same review. It does not apply per-reviewer across their whole history — it’s scoped to that specific review.Enabling and disabling rules
Each rule has its own on/off switch. Disabling a rule is always available, even on a downgraded plan, so you can silence old rules without losing their configuration. If your organization loses Pro access while a rule is still enabled, the rule goes dormant — it stops creating tickets, and shows a “Not firing — Pro plan required” warning until you either re-enable it (after upgrading) or disable it.Combining escalation with auto-replies
Escalation rules and auto-reply automations can work together, since they’re independent systems. For example, you might auto-reply to a 1-star review with an empathetic response while an escalation rule simultaneously creates a Zendesk ticket for your support team to investigate. This gives the reviewer an immediate public acknowledgment and ensures your team follows up privately.Next steps
Triggers
Learn more about the conditions you can use to target specific reviews
Actions
Configure the response methods for your auto-reply automations